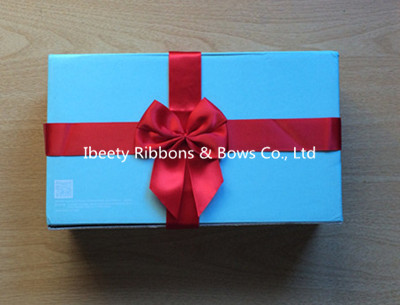
Between wrapping presents and decorating for the season, ribbon bows are an essential item. Ribbon bows can be simple or intricate, as long as they somehow convey the spirit. This post gives instructions for making a simply bow, a basic bow for wrapping presents.
Choose the color or theme for the bow. There are thousands of colored and printed ribbon patterns to choose from. The ribbon should be in a complementary or contrasting color to the surrounding decorations.
1 Prepare the ribbon. There are several types of ribbon, including satin, velvet, grosgrain, organza, metallic. The following we do it’s satin ribbon.

2 Count the lengths to tie the bow around the package.
3 Find the middle of the ribbon by bringing the two ends together and dividing in half. Place the middle of the ribbon over the center of the package. Be sure the middle of the ribbon stays in the center of the gift as you proceed to the next step.
4 Fold the ribbon around the edges and bring together at the center of the back side of the package, twist.
5 Bring the ribbon up and around the edges to the front of the package. Tie the ribbon in a knot under the initial vertical placed ribbon.
6 Tie a knot around the vertical ribbon.

7 Take the two loose ends and tie in a bow by first bringing up one end in a loop, pinch at the base, and bring the other ribbon around, under, and through the loop. Pull taut.

8 Take some time to fluff up and perfect overall look of the bow, you may need to adjust the loops by tugging on the tails. If you really want to get fancy, clip the tails by folding them in half and trimming at upward angle.

If you are still not familiar with it. You could buy ribbon bow from our company: www.ibeety.com. We are specialized in ribbon, ribbon bow, printed ribbon. All of ribbon are certified by Oeko-Tex standard 100. They are eco-friendly. The following ribbon flowers has double faced adhesive tape on it. You just need to stick the bow to your package to make beautiful gift packaging.


